
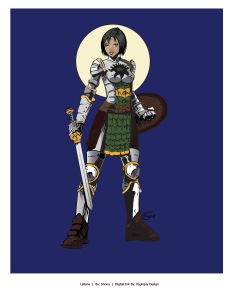
Here is my first vector inking – “Leliana”, original sketch by Shono! I worked on this project for about 4 hours a day over a two week period, so I estimate it took 56 hours to complete. Click images to enlarge.

Challenges and Solutions:
1. I had some trouble with the highlight in the character’s right eye. It was difficult to get the bottom line of the highlight flush with the bottom line of the eye and continue the curve. Fortunately, the white highlight blends into white of the eye, so the overlap doesn’t show.

2. This isn’t the case with the highlights on the character’s armour: I had to create a hierarchy of layers and paths to ensure the lines covered the joins between areas of colour/shading. Here, the light grey shape is under the lines but above the dark grey shape (which is highlighted, with anchors displayed).

3. In some cases, it was easier to trace out large areas of deep shadow or thick lines and place a highlight overtop of this. This saved time and created smoother shapes, but broke the pattern of my hierarchy, which made it more difficult to locate these outlying highlights when I wanted to edit them – especially if they were in a layer I had locked. This screen shot shows a yellow highlight above the thick black shadow/line.

4. Because of the complex curves and shapes in the sketch, in some areas I had to zoom in and out a lot. In particular, when I was tracing very tiny lines, I would have to zoom in radically in order to have any degree of control over the pen tool. As you can see from these screen shots, it’s only when I’m zoomed in that I can create the tiny right angles that I want on the lines, and create such thin lines so close together. I would then have to zoom out again and check my inking against the original sketch to make sure my lines were accurate. The pixellation on the original sketch makes it at times impossible to see the effect of the artist’s line when zoomed out to the actual size of the drawing.

5. After completing a number of small lines, I would then have to zoom out to create larger curved lines. The smoothest effect comes from using the fewest possible anchors on a line, and zoomed in as above, it’s difficult to manipulate the handles on these longer lines with only two or three anchors.

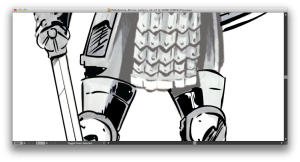
6. Although I completed most of this inking with the pen tool, I used the brush tool for the numerous small buttons on the character’s tunic/skirt, and an ellipse for the moon. I encountered an interesting problem when I was working on the moon – I wanted to erase part of the path of the ellipse, but my eraser tool was, bizarrely, erasing with a stroke. (Perhaps the program wanted to maintain a closed shape and would only let me move parts of the path, rather than removing parts?) I was concerned this would be a problem since my colour layer is set at 80% opacity, but in the end I created an opaque layer below the colours, which solved the problem.


